
31 Jul How to take Mach1 Roadside Assistance Service Calls
At Mach1, we’re changing the way roadside assistance gets done. Our on demand roadside assistance and patent-pending technology automated the ordering, dispatch and payment processes like no one else in the industry.
If you’re either thinking about becoming a Mach1 service provider or a part of our network, we’d like to make sure you’re ready to take calls.
If you haven’t signed up yet, please visit https://provider.mach1services.com/ to get started.
Here is a checklist of things you’ll need:
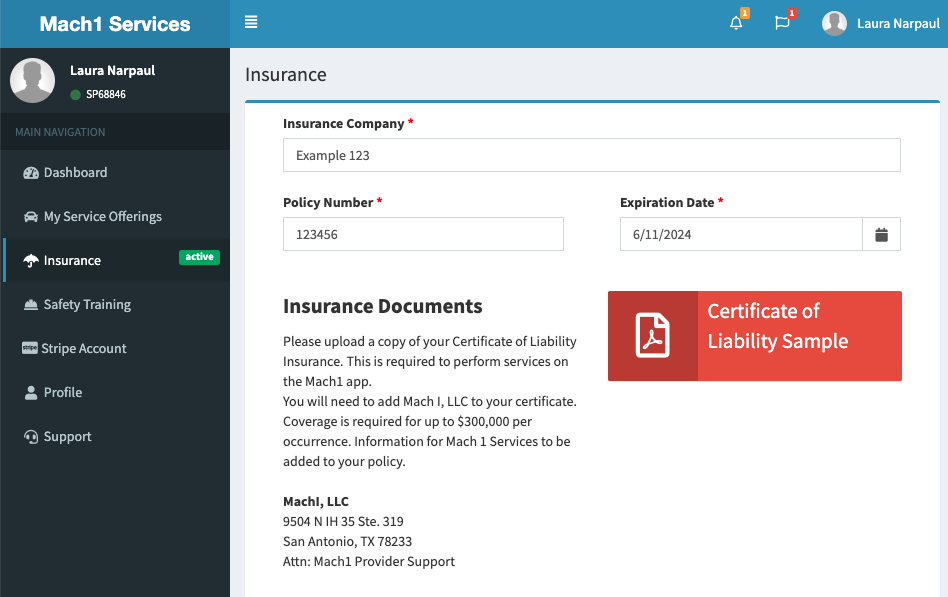
- Make sure your account is active and you and/or your drivers are fully registered. If you are active you will see a green circle next to your provider number. An example is shown below. *You will have to complete the initial registration process to gain access to this dashboard.
2. Download the Service Provider app. Each driver will need to download and sign in to the app and mark themselves “available” in order to take calls.
Android users click here: https://play.google.com/store/apps/details?id=com.mach1services.provider
iOS/Apple users can click here: https://apps.apple.com/us/app/mach1-provider/id1446907358?ls=1
3. Please read through the Mach1 Service Provider guide below. There is important information about how to take calls and get paid for Mach1 calls. You can also watch a tutorial here: https://youtu.be/T0AkNIaA7Js.
We’re thrilled that you are a part of our network! Remember the Mach1 motto of “people helping people,” as we bring a new standard to this industry.
If you have ideas or would like to participate in our ambassador program please send us a message- we’d love to hear from you!
Wishing you the best & safe travels!
The Mach1 Team
Mach1 Service Provider App Guide
Being a Mach1 Roadside Assistance Service Provider makes taking calls and servicing customers easy. Here is a step-by-step guide on how to do it.
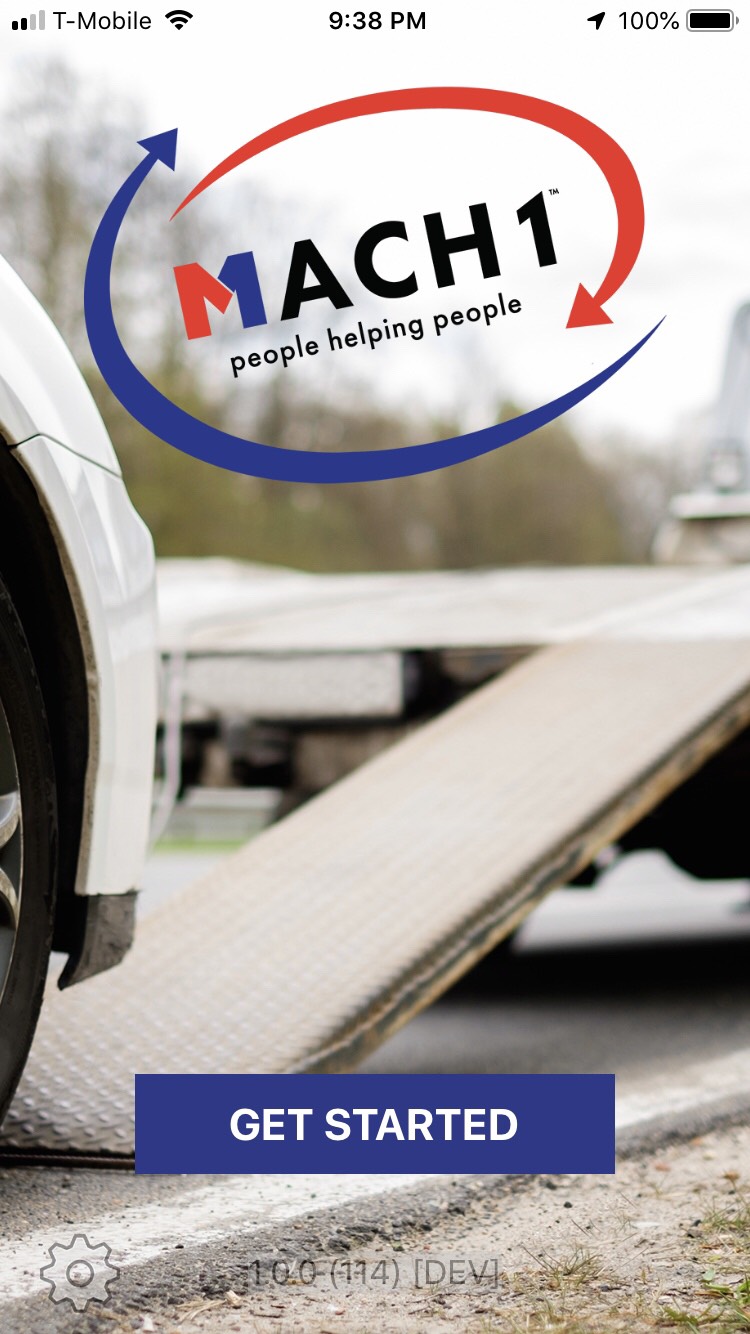
- Get Started.
After you’ve downloaded the app and become an “active” provider, click on the Get Started button on the first screen.
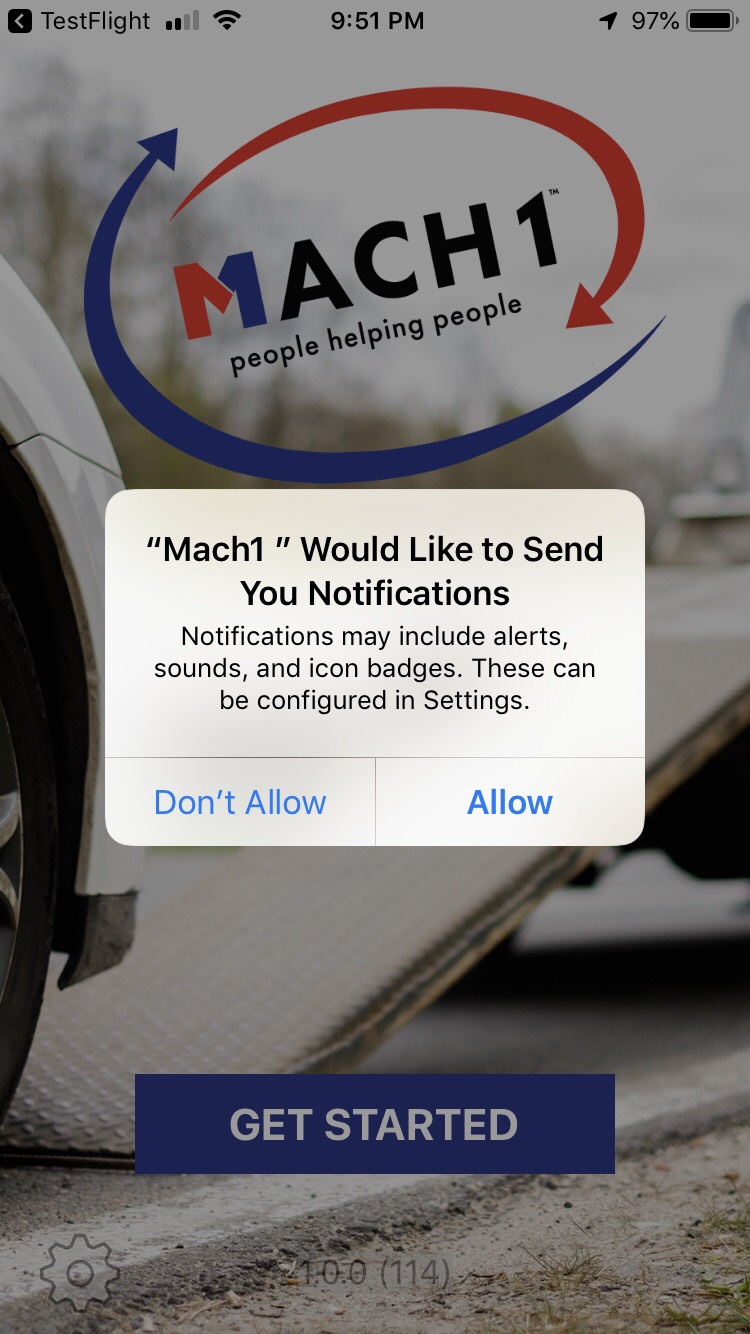
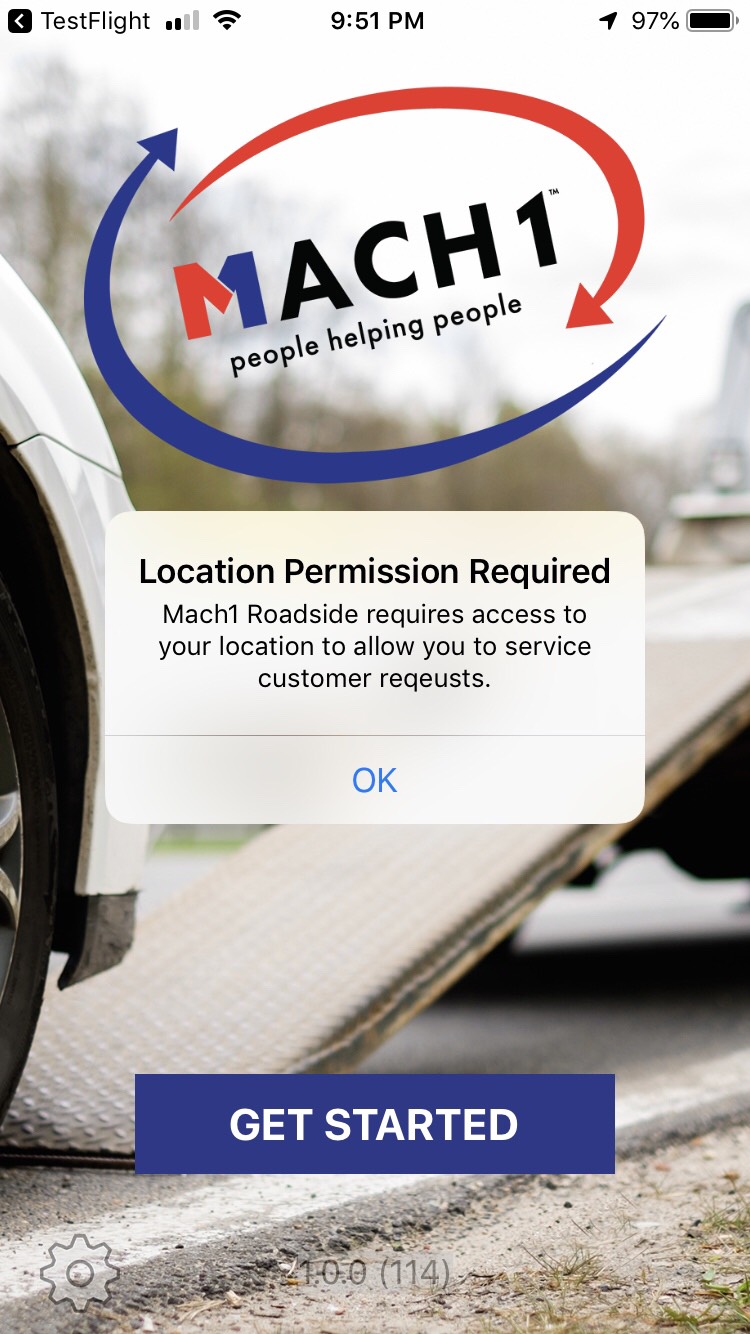
2) Permissions.
Please make sure to allow all permission requests, as that is how we will dispatch you and help you get in touch with customers. Choose “Always Allow” on the location request, “Allow” on the notifications, and “OK,” on the final location permission request.

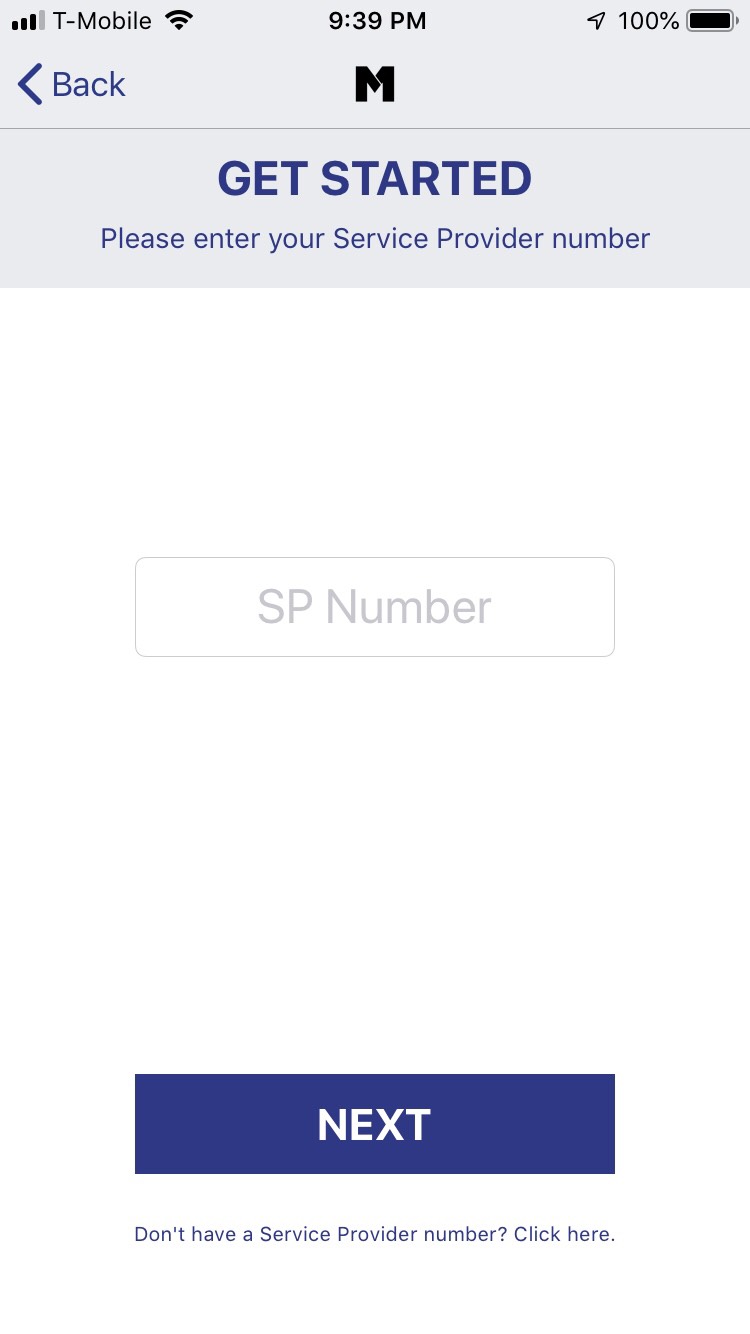
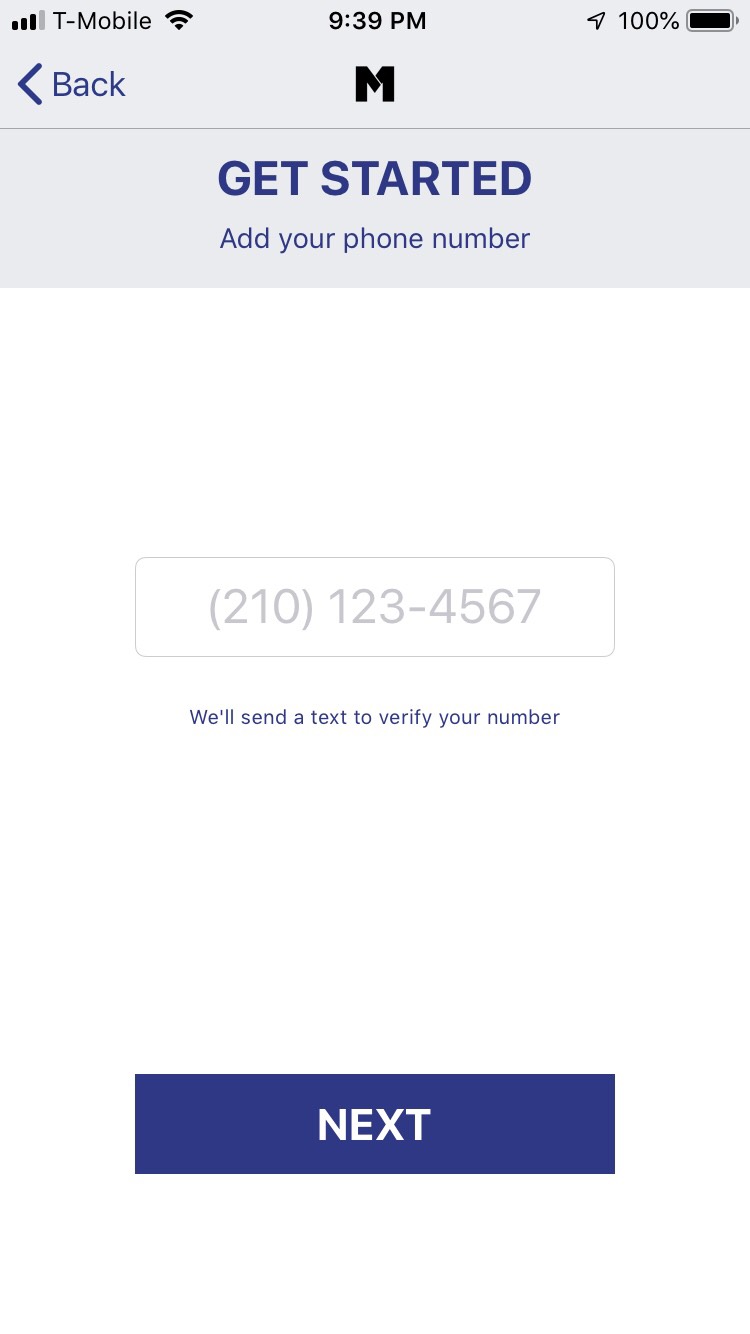
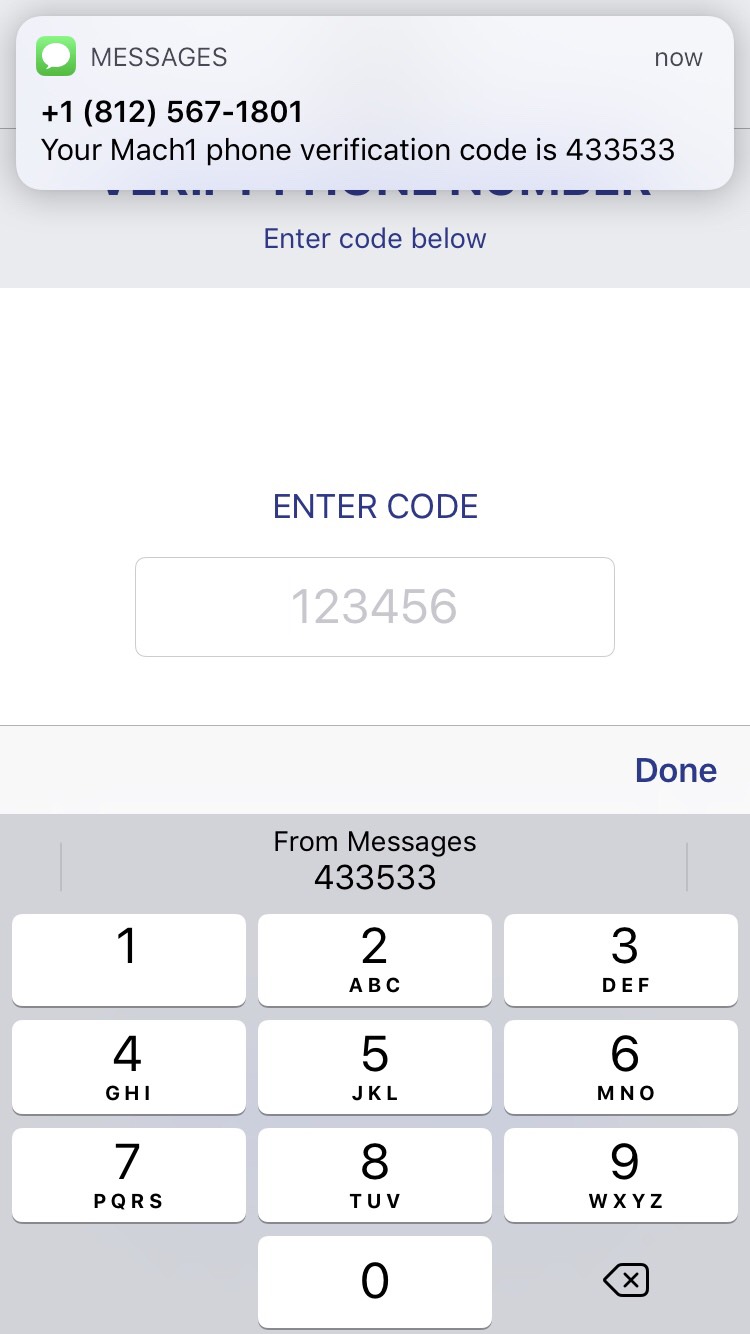
3) Provider Number & Verifications
Next, you’ll enter your provider number, an example is SP12345 or for a business B12345-1. Then, enter the phone number that you used to sign-up as a provider or the number of the driver you signed up. You’ll get a verification code notification to that phone number. Enter the code and you’ll your session will be authenticated.
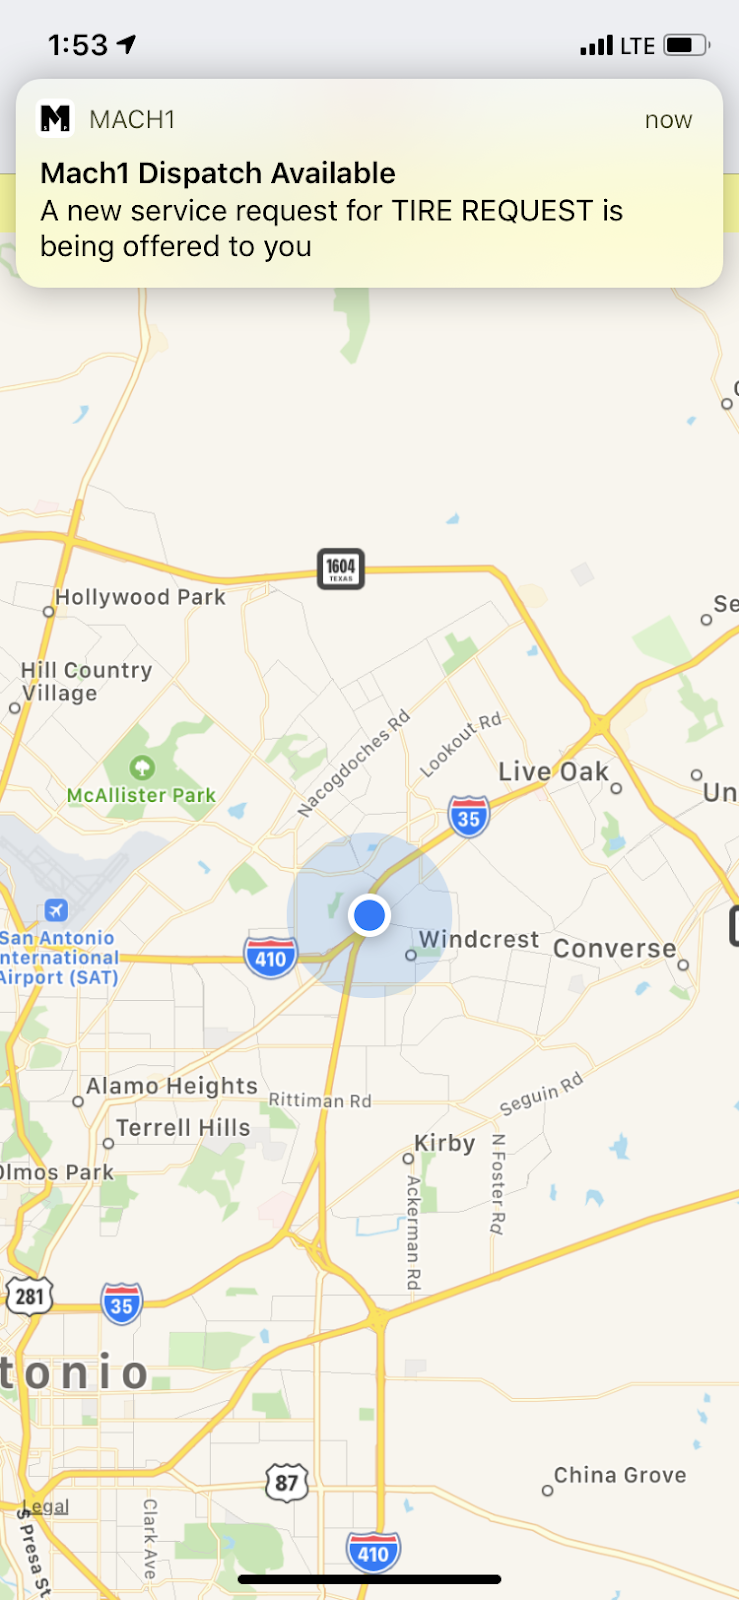
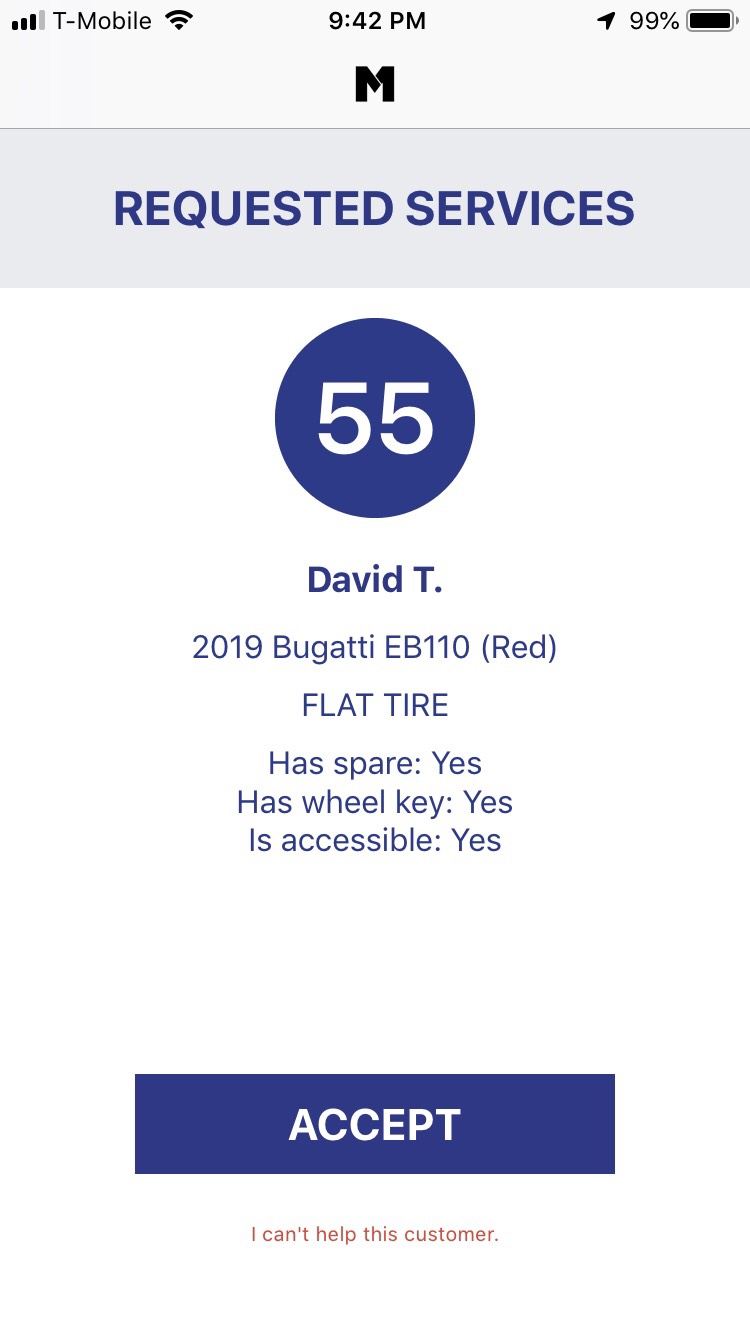
4) Taking Calls
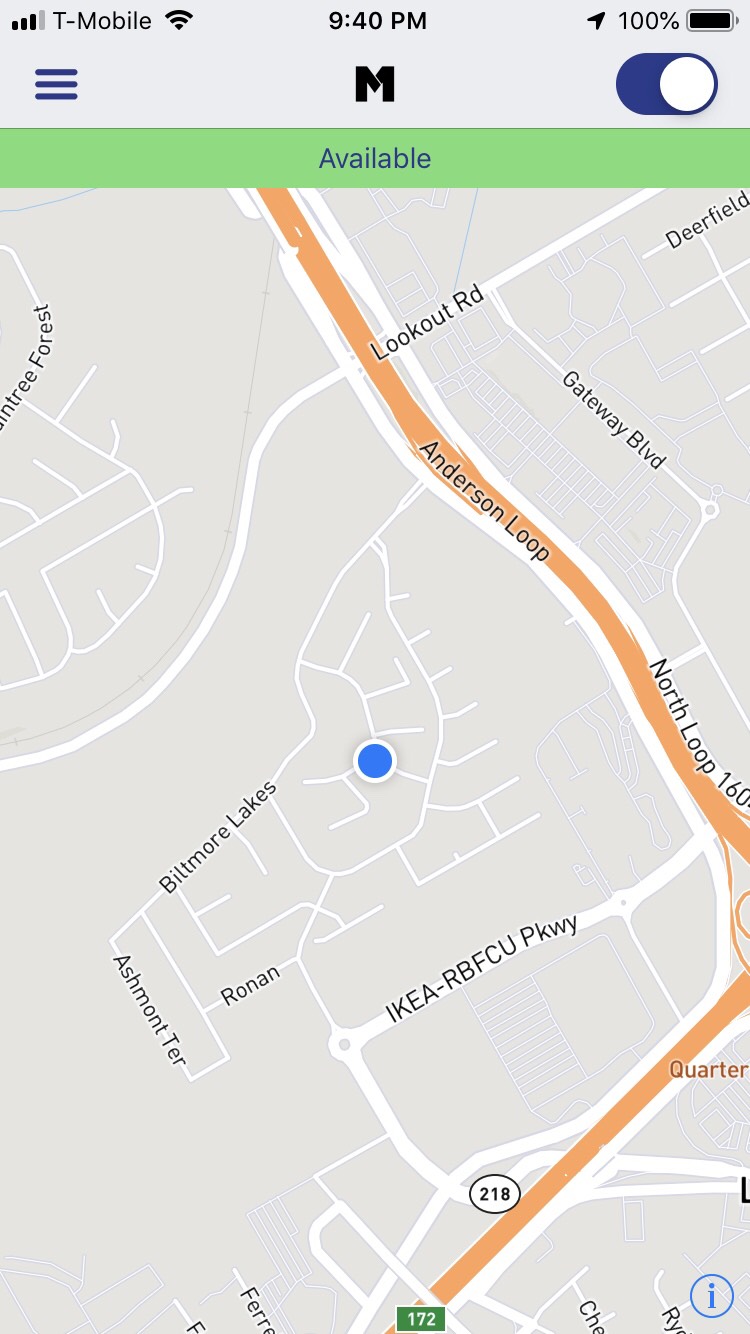
Mark yourself “Available” for taking roadside assistance calls by touching the blue switch on the top right-hand side of your screen. You’ll know you are eligible for taking calls when the bar across the top is green and says, “Available.” You’ll get a push notification dispatching you to a customer when you’re being dispatched. Click on the push notification and next you’ll see the, “Requested Services.” Click the blue “Accept,” button to start the service call and navigation to the customer.

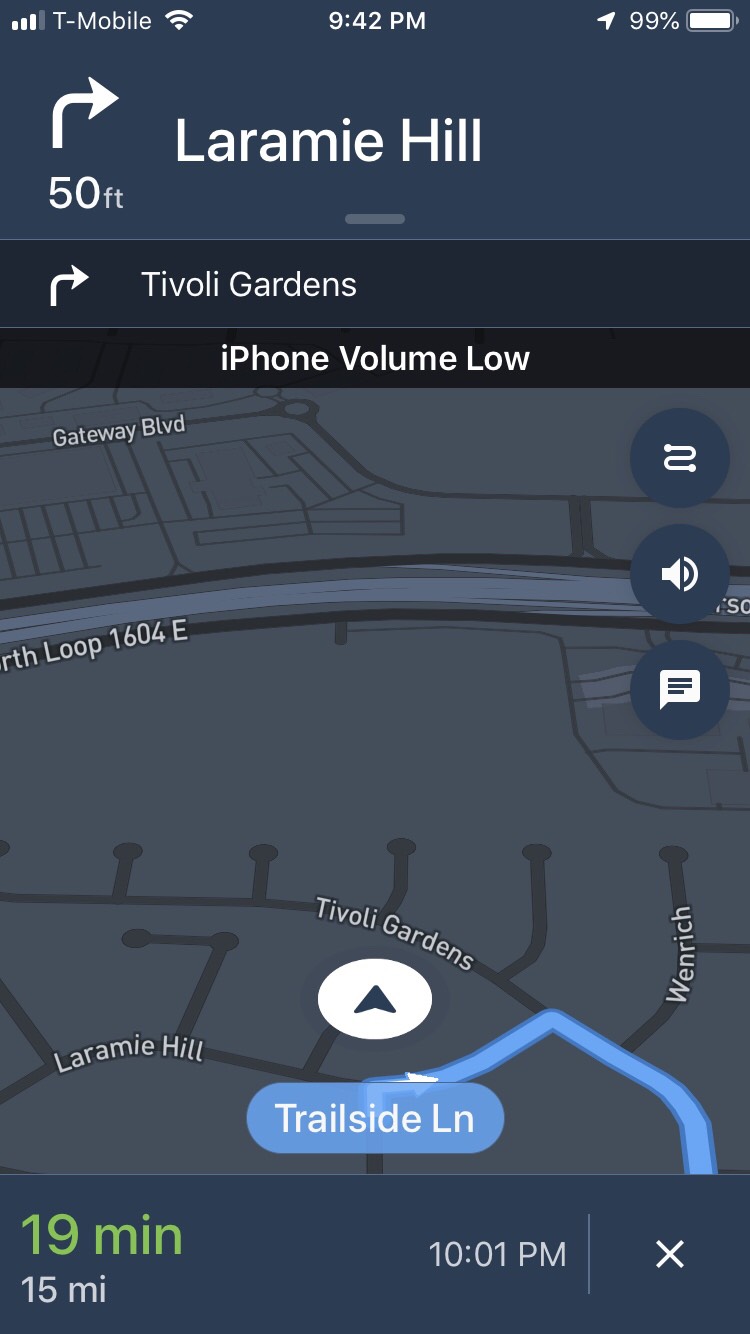
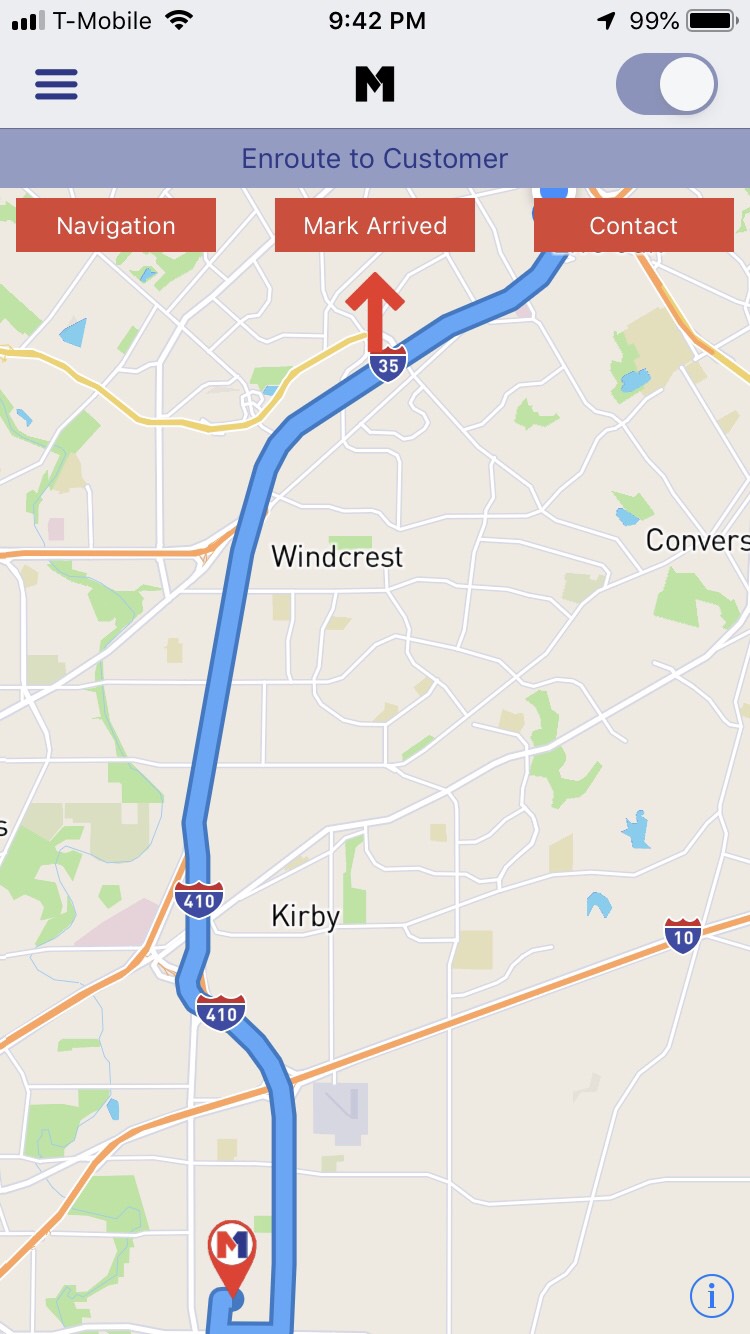
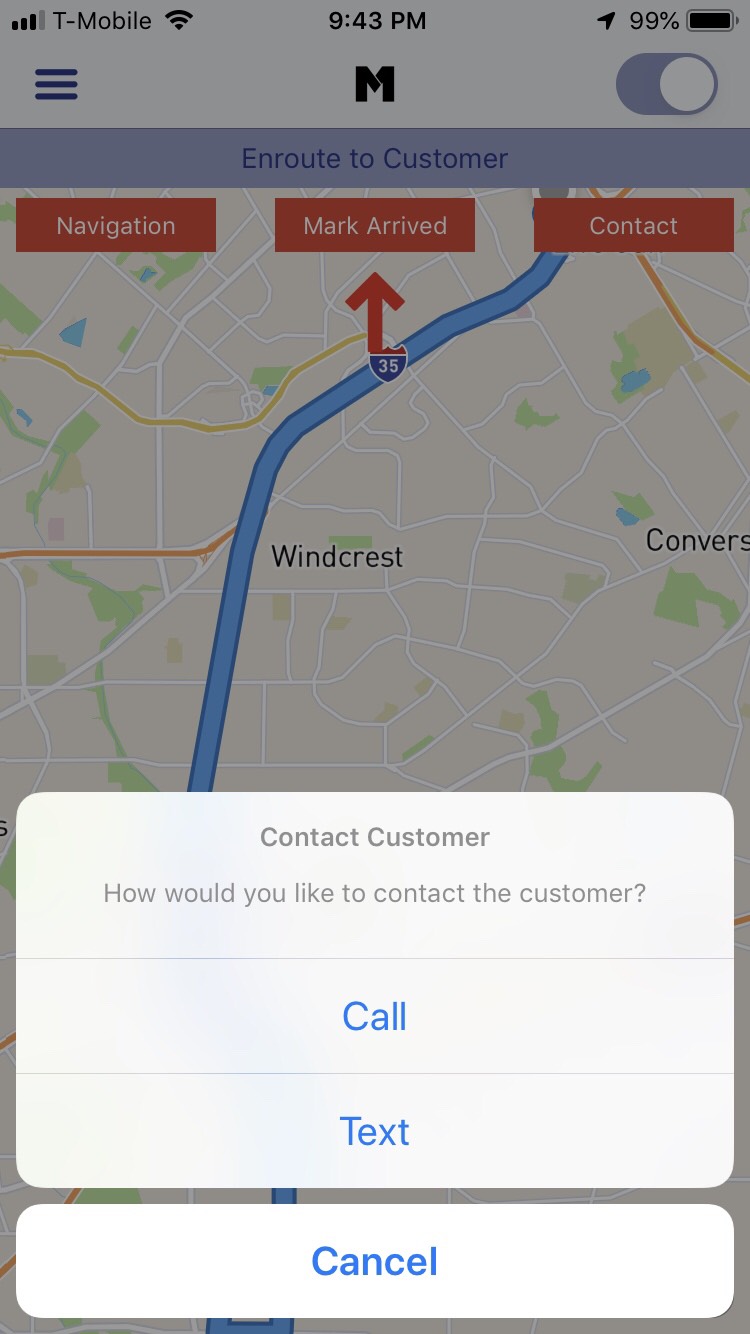
5) Navigation & Contacting Customer
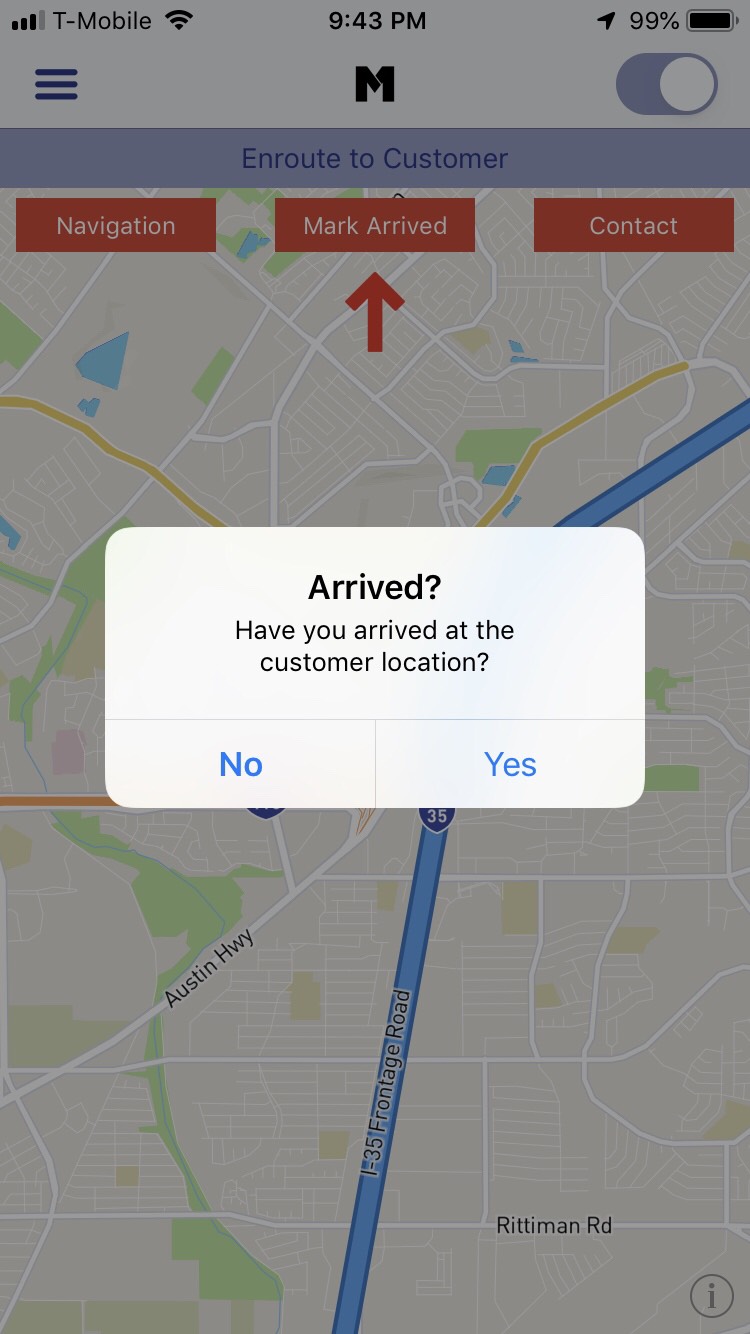
Turn-by-turn navigation will automatically open guiding you to your customer. You can minimize the navigation by hitting the “X” on the lower right-hand corner. With the navigation minimized, you’ll see other options on the map. You can call or text the customer by selecting the “Contact” button on the right. This is will issue a temporary number that you can communicate on while you’re servicing them. When you get to the customer, you mark yourself as “Arrived” in the app. From this screen, you can complete the service. We recommend you review the “safety first” checklist on every call.
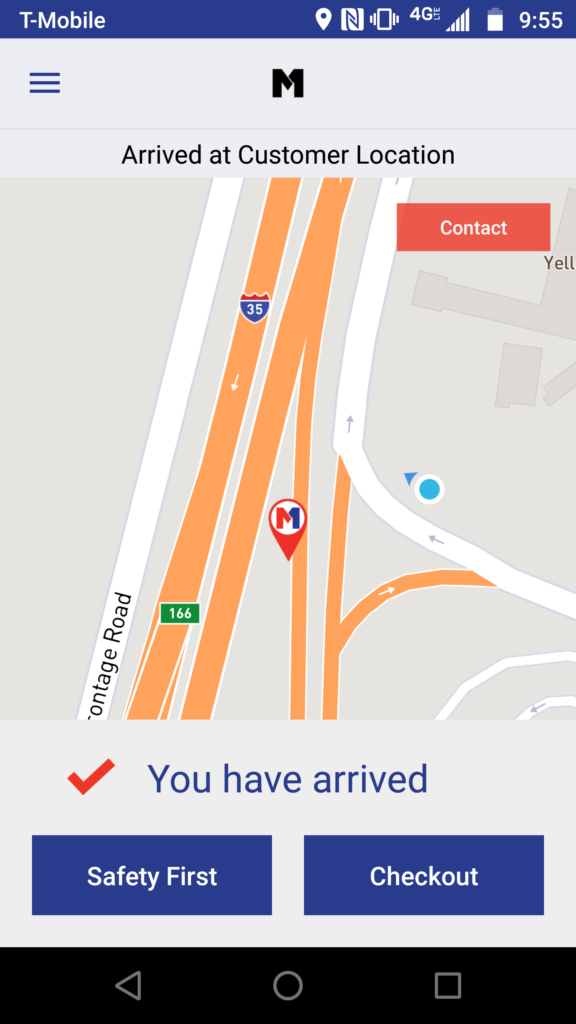
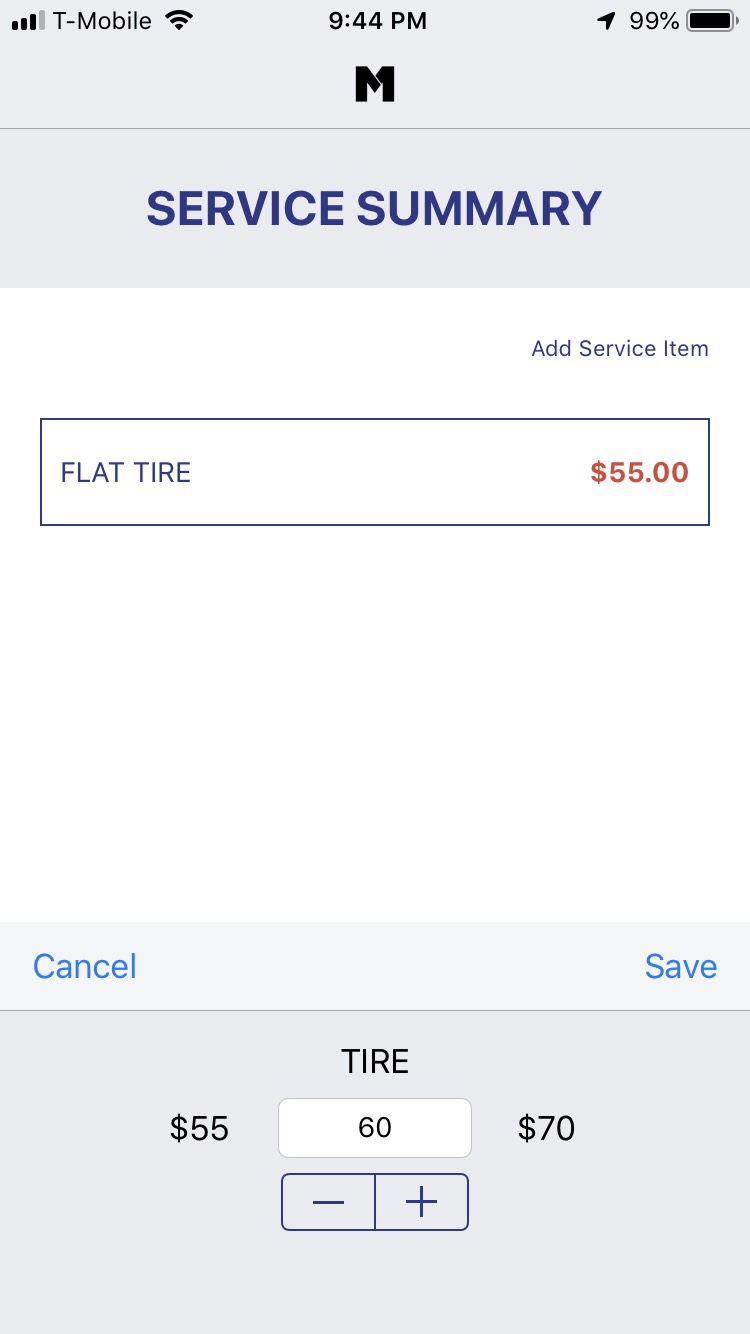
6) Service Summary & Notes
From the “You Have Arrived” screen you can click on the blue button that says “Checkout.” This is where you will enter the final dollar amount of the service. Touch the amount and you’ll be able to adjust the price based on the price window. You can also “add service item” by clicking the link in the top right corner. Just remember to make sure you’ve gotten the customer approval before completing any service work outside of the pre-negotiated price window.

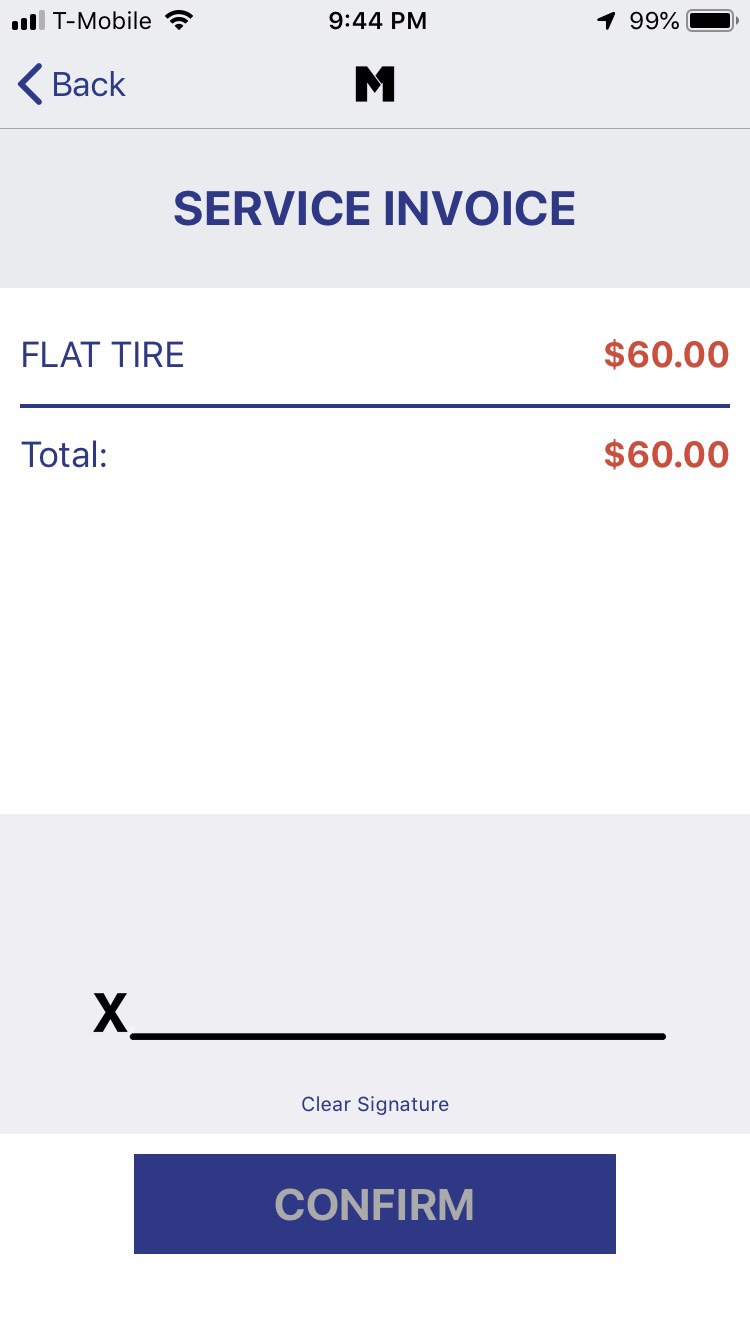
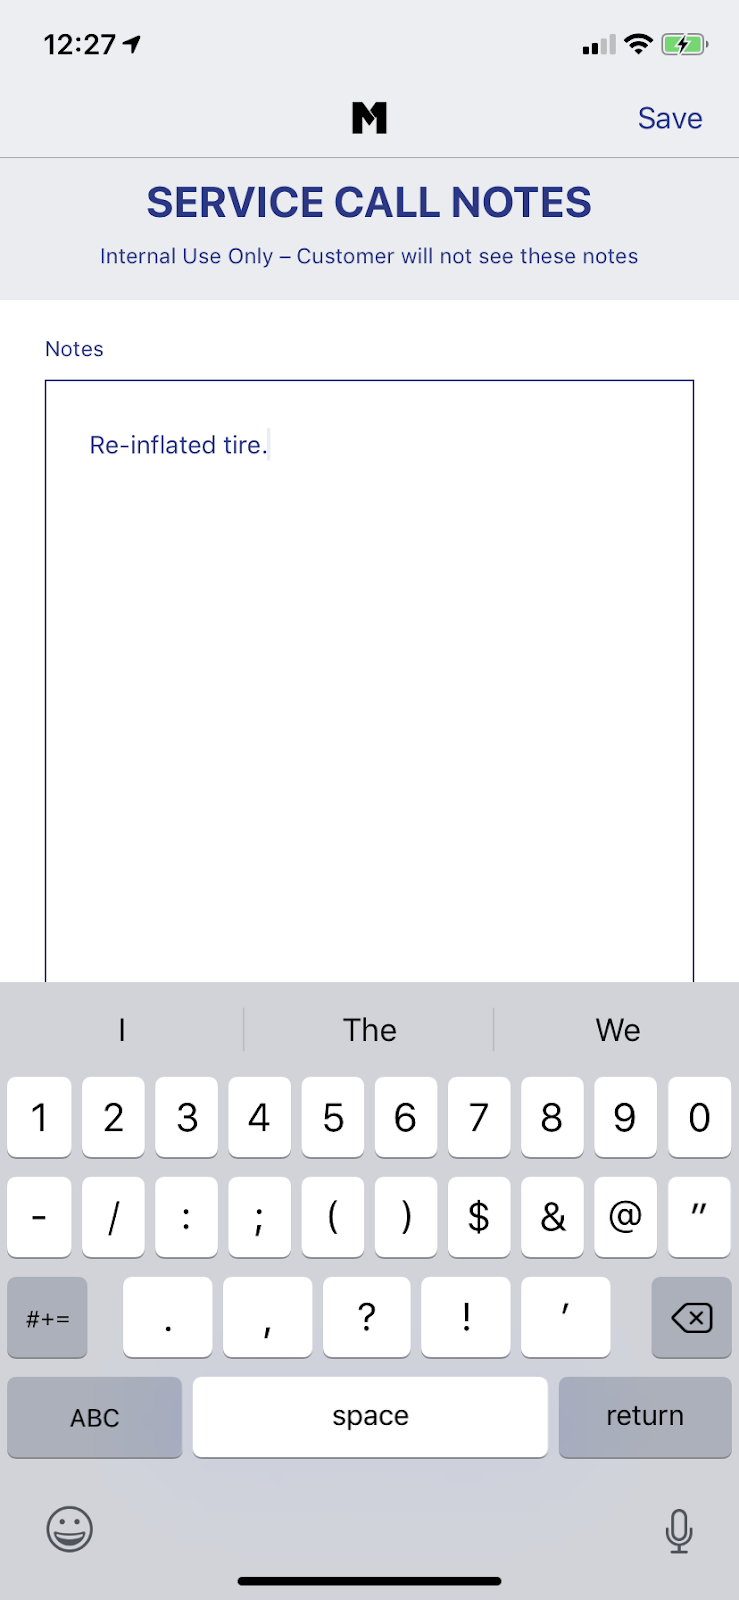
7) Invoice, Rating and Service Notes
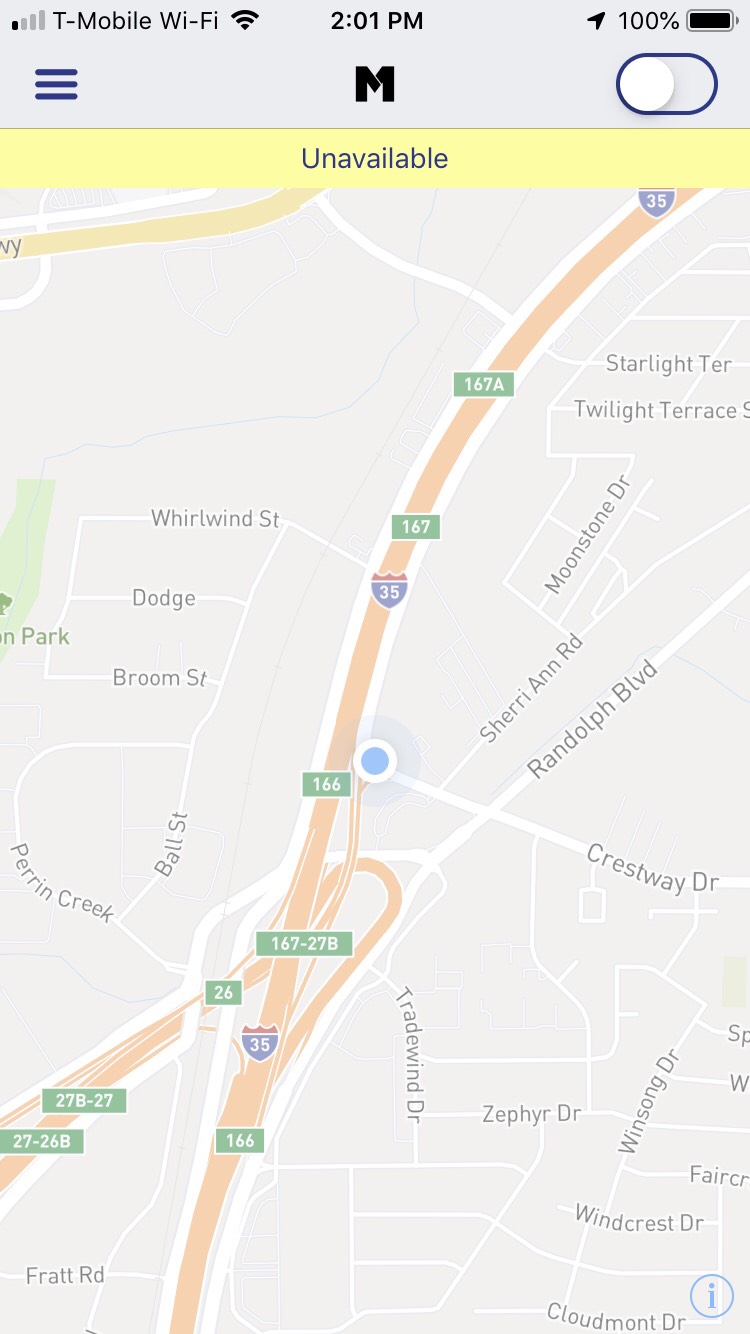
Once you have confirmed the final price, an invoice will be issued. Have the customer sign the invoice from your device and click confirm. This will transfer the money into your Stripe account, minus the Stripe transaction fee and Mach1 operating fee. The funds will be disbursed into the account you registered within 24 hours (48 rolling hours). After you confirm the invoice, the customer will rate you on a scale of 1-5. You can enter any service notes, and then you’ll see a safe travels message. You’ll be automatically redirected back to the map page where your availability will still be marked as “Available.” If you’d like to take more service calls you will just wait for the next notification. If you’re done taking calls for the day you’ll need to mark yourself “Unavailable,” and you won’t get any more roadside assistance calls.
If you’d like to become a Mach1 Service Provider, please visit our website: https://provider.mach1services.com/.
Dive more into understanding roadside assistance services to know the best when stuck in roadside assistance service.