
10 May 5 Steps to Fix a Flat Tire at Home
Fixing a flat tire at home is a skill we all hope we never need, but it’s great to have in your back pocket. You start driving your car, only to realize it’s slightly off balance and, yep, your tire is flat. Instead of calling a tow truck or roadside assistance, which can take anywhere from thirty minutes to an hour (if not more), you can fix your tire yourself at home and still make it in time for lunch with your friends.
Fixing a flat tire at home is simple and only requires about thirty minutes of your time. First, you want to inspect your tire to see what caused your flat. Look around the tire to identify the cause or specific area of the leak if whatever punctured your tire is missing. After finding the source of your problem or what caused the leak, you need to decide if you will plug your tire.
Once you have found the cause of the flat tire, you are ready for the next step. What if you cannot find the cause of the flat nor the source of the leak? Keep reading to find out how you can find the source of the air leaking from your tire.
(You may be wondering “can I call someone to change my flat tire?” The answer is yes! However, learning to do it yourself can be a very useful skill!)
Can You Fix A Flat Tire at Home?
You can fix a flat tire at home by either plugging the tire or changing the tire completely. Plugging the tire is a short-term fix that you can do at home. After plugging the tire, you will want to get it checked out during the week by a professional for expert advice on the life of your tire and the severity of the puncture.
What Tools Are Needed To Fix A Flat Tire At Home?
Fixing a flat tire at home can save time, money, and stress. There are two short-term ways to fix your tire at home, plugging your tire or changing your tire. Both options require a few tools to ensure the effectiveness of the process.
Below the tools are listed in no particular order. Each item is essential to fixing your tire at home:
- Air Pump– This item may be purchased at Walmart or online. An air pump will help you locate the leak if it is not noticeable straight away.
- Plug Repair Kit– Using a plug repair kit to fix your tire can save you time and money. If you have a plug repair kit, all of your repair items will be together in one easily accessible place, and you will not need to buy the plugs, pliers, or sealant separately.
- Car Jack– A car jack will lift the car, making it easier for you to manipulate the tire. It will also take the weight of the car off the tire.
- Spray Bottle– If you cannot find the leak using the air pump, you can fill the spray bottle full of water and soap and spray it onto the tire.
- Insertion Tool-This item will be used to place the plug firmly inside the tire.
- Pliers-Pliers are useful for pulling nails or glass from the tire.
- Plugs-A pack of 30 plugs to fix your tire. These plugs will be placed into the hole to stop your leak.
- Tire Sealant Cement– This tire sealant cement is used to reinforce a plugin to your tire and stop air from escaping the hole.
- Glovesare optional. However, they could protect your hands from dirt, rough edges, and potentially dirty glass or nails pulled from your tire.
5 Steps to Fix A Flat Tire at Home
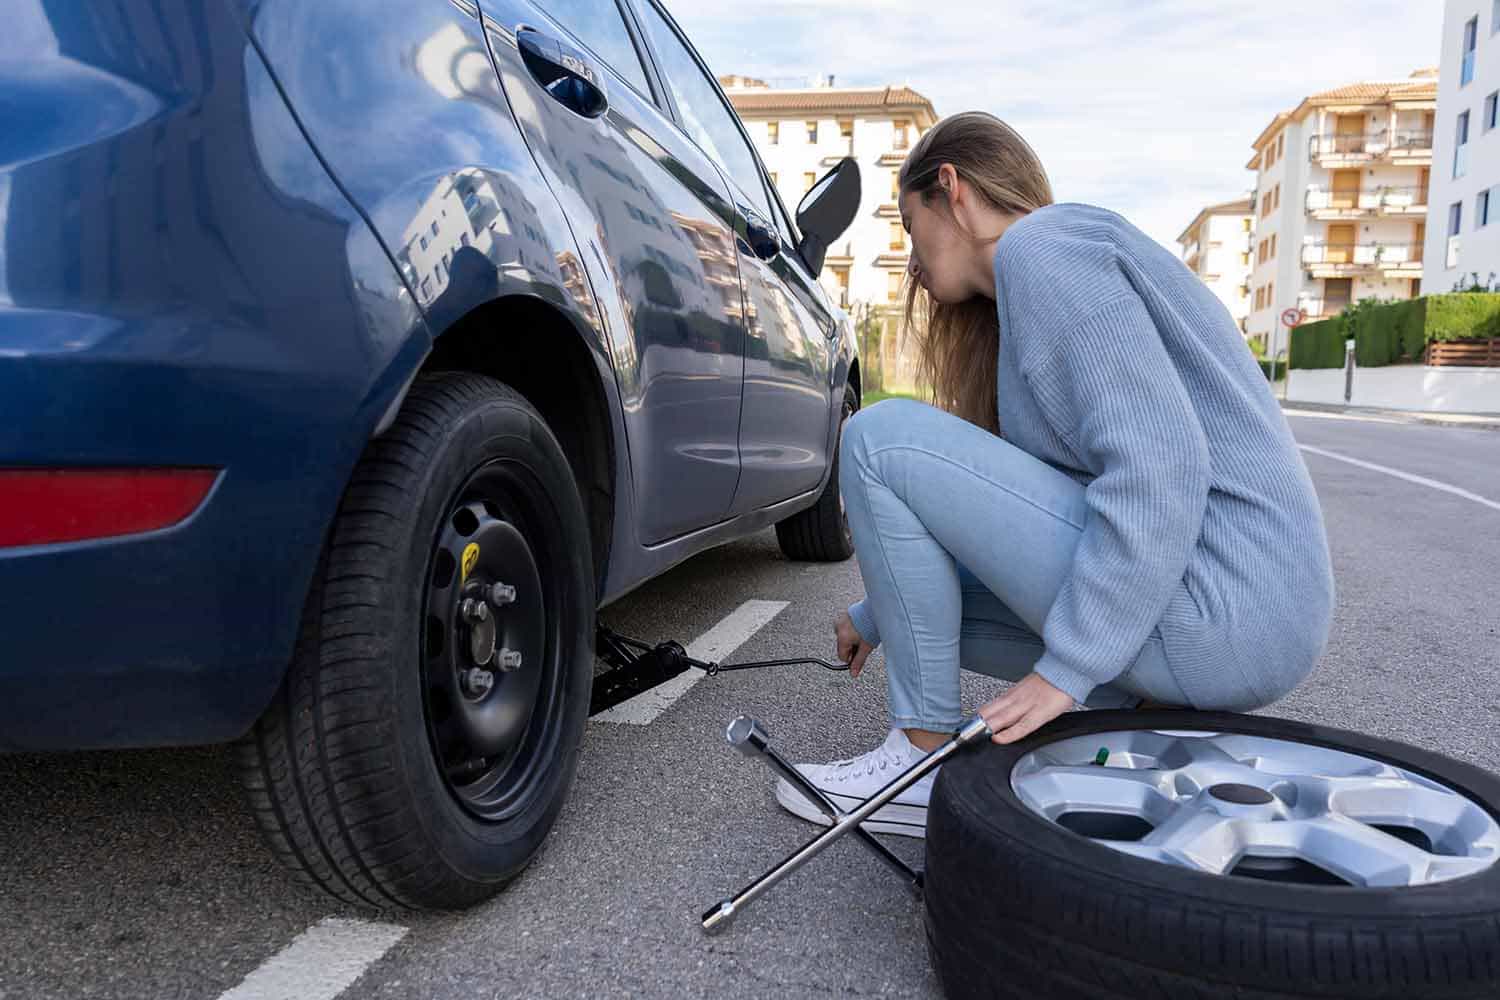
Before you begin inspecting your car, be sure to turn your vehicle off, place it in park, and put on the parking brake. This is a cautionary practice to ensure that your car does not accidentally move, slip or roll forward while you are fixing your tire.
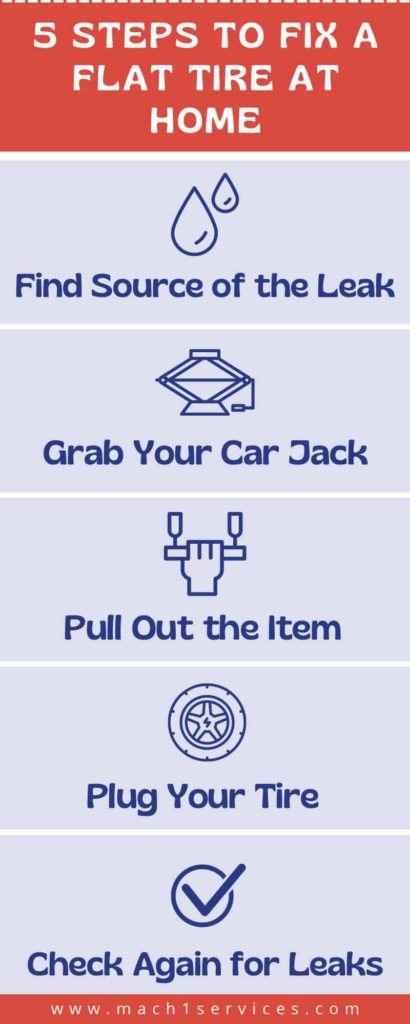 Find Source of The Leak
Look around your tire or feel along the grooves to spot where the leak is coming from. While some tires may have a giant nail or piece of glass, some may be sprouting air from an unknown source. Even if you do see a nail tucked deeply into your tire, feel around for other sources of a leak. There could be multiple punctured areas.
If you still cannot find the source grab a spray bottle filled with water and soap, spray the tire. The area that produces bubbles is where the air is coming out.
If neither of these tricks works for you, try pumping your tire up. Once it is filled with air, the hole will be easier to find because you’ll be able to hear or feel it.
Grab Your Car Jack
If you can, position your car with the wheels straight. Slide on your gloves and pull out your car jack. All cars are different. It also depends on what kind of jack you are using. Car Jacks will come with directions along one side of the Car Jack.
Typically, you would position yourself on the side where the flat tire is and look under your car. There should be an area that has two prongs. Slide the car jack under your car, lined up with the prongs. Once the car jack is under the middle of your car, take the additional lever and attach it to the jack. Wind it clockwise to lift your car.
Pull Out the Item
You have safely stopped and positioned your car, found the leak, and lifted the pressure from the tire. It is time to pull out the mystery item (since no two flats are the same) that has been causing your tire to spew air. Grabbing the pliers, carefully grip the item between the two prongs. Do not worry about the air escaping. Pull the item from your tire using the pliers.
Please do not over-exert yourself if it is hard to pull out. Your tire rubber is thick, and it may need some pulling and tugging before breaking free. Safely discard the item in the trash to avoid any accidental punctures later down the line.
Plug Your Tire
Now, the fun part. You may prepare to plug your tire.
- Prep your tire: If you have a flat tire repair kit, you may take your t-handle (it’s labeled inside the kit) and push this into the hole. The T-handle gets the hold ready for plugging by making it wider. If you do not have a kit, you may use your pliers to make the hole slightly larger so the plug will fit. Squeeze a pea-sized amount of tire sealing cement into the hole.
- Prepare the plug: Get your plug laid out, measure it against your hole to make sure that it will fit (you want a snug fit so the plug can do its job). Push your plug through your insertion tool (from your plug kit), then coat with tire sealing cement.
- Insert the plug: Using the insertion tool with the plug coated with tire sealing cement, slowly and carefully push it into the hole of your tire. Once the plug is inserted deep enough-you should only see a small tip of the plug-pull your insertion tool handle, and it will come free, then pull the tool out.
- Pump up your tire: Gently insert air into your tire until it is firm. This will make it easier for you to drive on your tire and replenishes the air lost during the plugging.
Check Again for Leaks
Using your soapy spray bottle, spray your entire tire and wait to see if any bubbles sprout. You may also listen to your tire for the hiss of air escaping. If there are no bubbles and no hiss, then you are good to go!
You Did It! You Fixed Your Tire At Home
If you followed the steps and took your time, congratulations, you have fixed your tire at home. There is nothing better than being prepared in an emergency. Remember to keep all your supplies together either in the truck of your car or tucked away safely in your home.
It seems expensive at first to buy the materials needed to fix your tire at home. However, having your tools and supplies will save you in the long run. Gone are the days of calling tow trucks, waiting to be serviced at a car shop, and being stranded at home or in public when a flat tire strikes.
(Maybe your tire is completely beyond repair. You can learn how to change a flat tire in that amazing article!)